Department of Chemistry
Fulmer IT

Printing to Gloria
Fetch the Driver
The Ricoh driver is not available from Windows Update. You must download the driver from Ricoh’s website OR…
*Note: After installing the printer drivers your PIN number for the printer must be set up before the printer can be used.
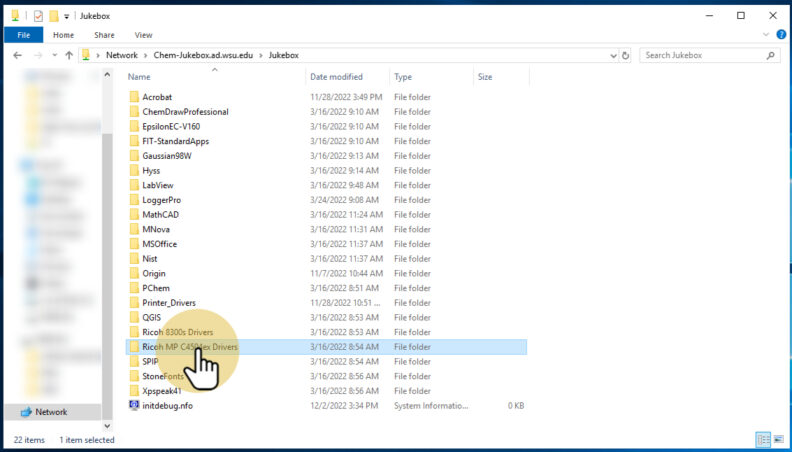
- Use file explorer to navigate to Jukebox on chem-jukebox.
Open theRicoh MP C4504ex Driversfolder.
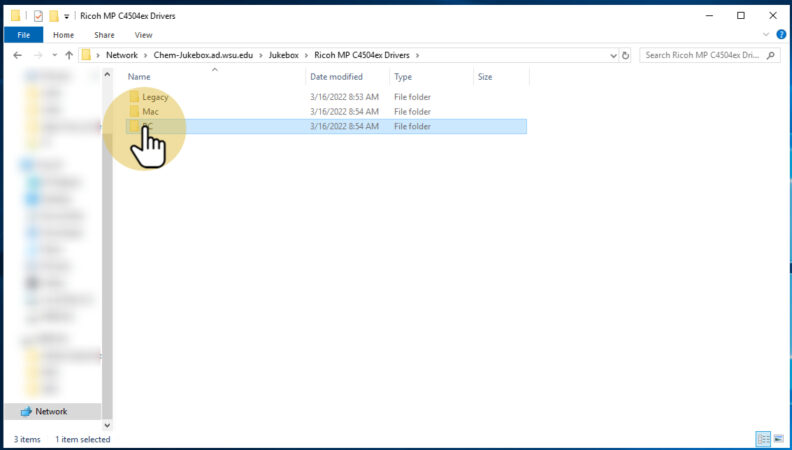
- Open the PC folder.
- Choose x64 or x86 based on your system. Nearly all will be x64.
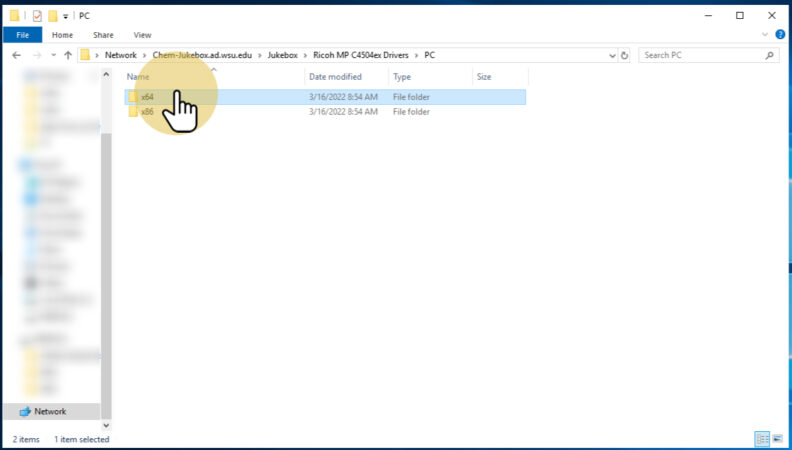
- Copy the folder to somewhere on your computer where you’ll be able to find it later, like your Desktop or Downloads folder. You’ll make use of it later.


Add the Printer (Windows 10)
On Chem-jukebox go to Jukebox and download the Ricoh Drivers as shown in the previous section. This is the driver you will use to set up the new printer “Gloria.”
-
-
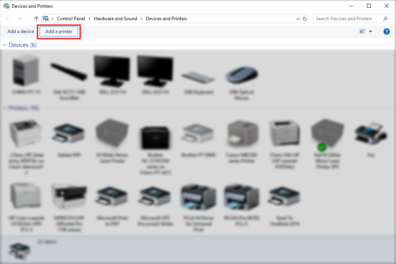
- Open the control panel. Go to the
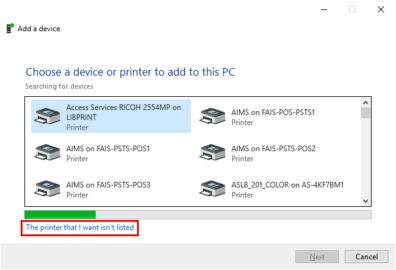
Devices and Printersapplet. Click theAdd a printerbutton
- Click
The Printer that I want isn't listed
- Choose:
Add a printer using a TCP/IP address or hostname.

- The Hostname for the printer is diamond8.chem.wsu.edu. Make sure that Query the printer automatically is unchecked.

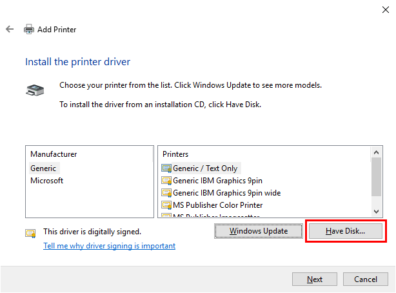
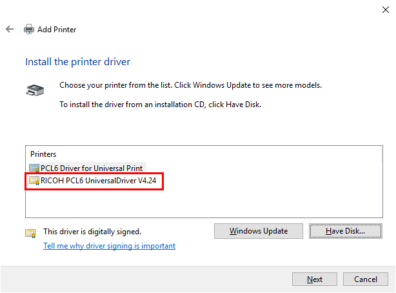
- Windows will offer a list of printer drivers. The Ricoh driver is not available in this list. Click
Have Disk....
- Windows will ask for the location of the driver. Click the
Browsebutton.
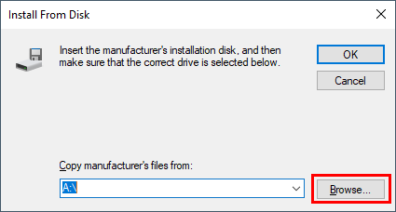
- Navigate to the location of the extracted files from the preceding step (Desktop, Downloads, etc.).
Opendisk1and select theoemsetupfile.

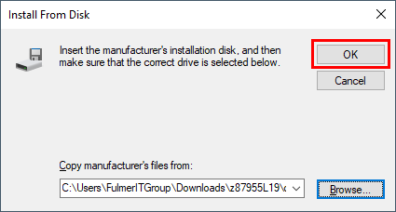
- Now click OK to continue.
- Windows will list the drivers available from the location you entered. Choose the
RICOH PCL6 UniversalDriver V4.24.
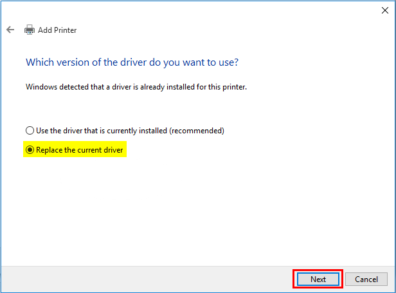
- If this printer was previously installed on your machine, you may get this message. If not, skip this step. Click Replace the current driver.
- At this point you may rename the printer to “Gloria” to make it easier to find, or leave the default name.

- If the printer is successfully added, click
Finish.

- Once the printer is installed, you will need to set up your PIN with the new printer driver in order to be able to print.
- Open the control panel. Go to the
-


Adding User PIN for 305 Ricoh printer
In order to use the Ricoh printer in 305, you must have been granted access and given a PIN. This guide will show you how to add the feature once the printer has already been installed.
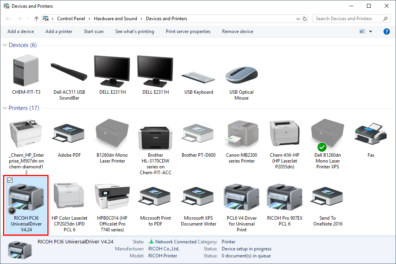
- Navigate to “Devices and Printers”
Right click on “RICOH PCL6 UniversalDriver V4.24” and selectPrinter Preferences
** This name may vary depending on what name you gave it. Click on which ever printer is the 305 Ricoh printer.
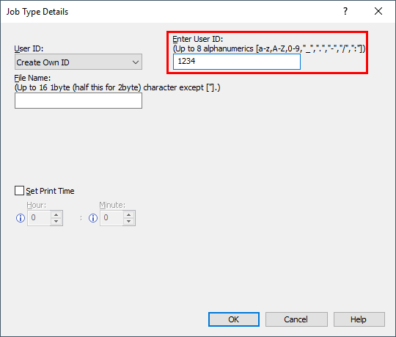
- Under “Job Type” select “Hold Print.” Then click on “Details”.
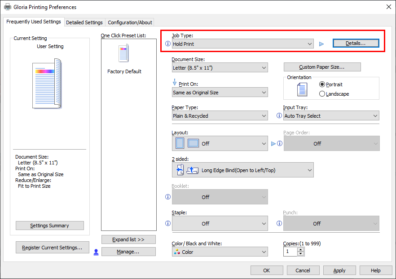
- Under “Details…” type your PIN under “User ID”. This should be the last four digits of your WSU ID.
- Click on the “Detailed settings” Tab and under the Job setup section enter your PIN in “User ID.”
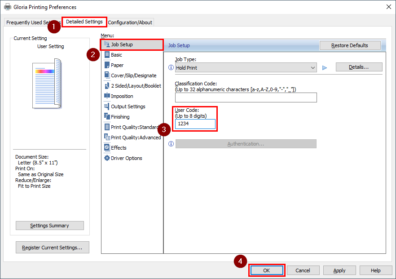
- The printer should now be ready to be used normally.


