Department of Chemistry
Fulmer IT

Installing Microsoft Office 365 for OS X
- Go to http://office365.wsu.edu.

- The login screen will pop up and sign in by using your Network ID and corresponding password.

- Once you are logged in it will take you to the Office 365 homepage, here there will be an Install now button, hit the button to continue to the download.

- Once the file is downloaded, locate the downloaded file in your Downloads folder and open it.

- A screen similar to the one below should show up. Click “Continue” to proceed.

- Next, agree to the license:

- After this, you will be asked to select which users can use Office on your computer, and where to install it. Simply select either all users, or just yourself. After you have made your selection, click Continue.

- Now choose where you want Office to be installed. If you need it somewhere different then your default hard drive, click “Change Install Location” to choose a new drive or location to install it to. Otherwise, click “Continue” to begin the download.

- Lastly, just enter an administrator username and password to begin the installation:

- Finally, the installation will begin. Sit back and relax— it might take a little while!

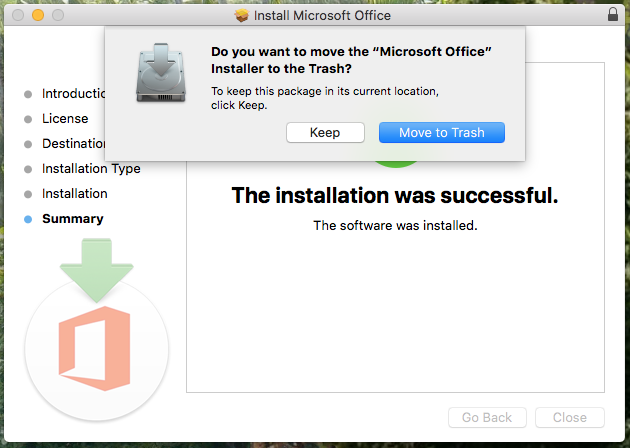
- Once the installation is completed, the following screen will show up. Click “Close” to finish, and exit the Installer.

- Once done, a the window will tell you that Office has successfully installed. It may also prompt you to move the Installer program to the trash, which is recommended to keep your Downloads folder clear of clutter. To do this, click “Move to Trash”.
- You can check that office has successfully installed by checking your Applications folder

Now you have access to Microsoft Office!