Department of Chemistry
Fulmer IT

Installing SPIP
“The Scanning Probe Image Processor, SPIP™, is the preferred software package for nano- and microscale image processing.” imagemet.com
SPIP is available to all faculty and graduate students in Fulmer. It is available to undergraduate chemistry majors. It is available for Windows only.
We use a network license. Your PC must be connected to the Internet when you launch SPIP. If you are not on the WSU-Pullman campus, you must connect to the VPN before launching SPIP.
- You can find the .exe installer in the Jukebox folder under SPIP. Double Click this to start the install.

- The installation application begins. Click
Next.

- Accept the license.

- Accept the default location.

- Select the languages you want.

- Confirm your settings.

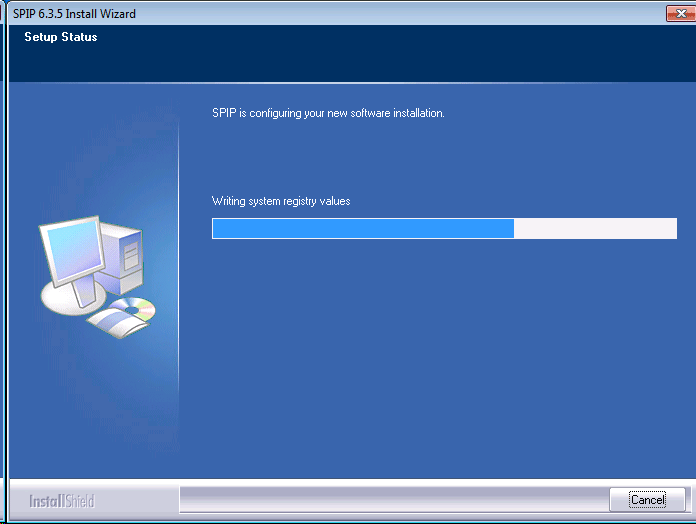
- Watch the application install.

- Success! The application has installed. Close the setup application.

Licensing SPIP
SPIP uses a network license. You must connect to the license server to activate SPIP.
- Confirm that you can reach the license server. Try to open
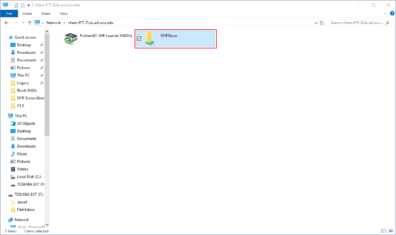
\\chem-FIT-Zulu.ad.wsu.edu.
If you see the following, success! You can view the SPIP share.
You may be asked to authenticate. Authenticate with your network id.
username: AD\network.ID [Your network ID]
password: networkIDPassword [Your network ID password]

- Launch SPIP. SPIP will open the license window. Click on the middle choice “
I have a license...”

you should then see the following screen

- Enter
\\chem-FIT-Zulu.ad.wsu.edu\SPIPShare\spip.mxas the path. SPIP should find the dongle and show “License is valid” in the window. Select “Use shared dongle.”

- SPIP is ready to use.