Department of Chemistry
Fulmer IT
Connecting to Printers with Windows 7
- From the Start orb, select
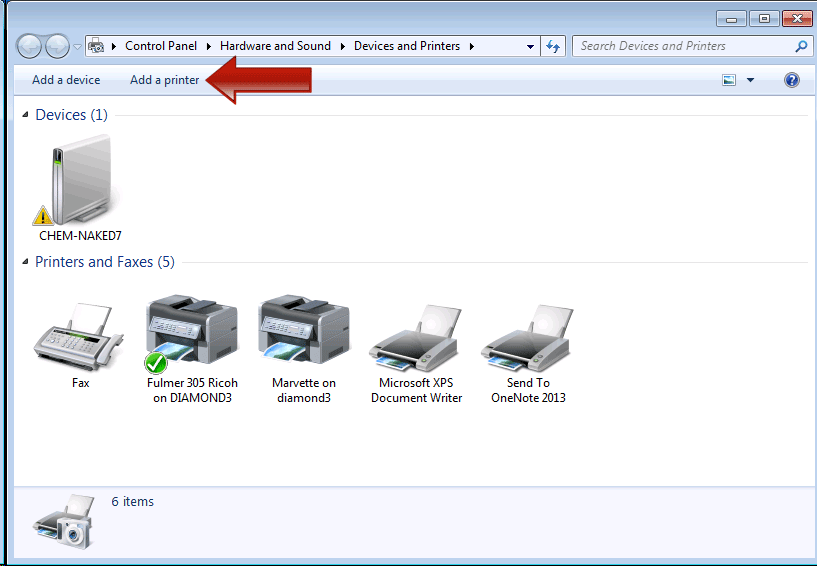
Devices and Printers. From theDevices and Printersdialog box, click on theAdd a printerbutton.
- Select
Add a local printerfrom theAdd Printerdialog box. This is counter-intuitive. Your printer is on the network, but Windows considers a direct connection to be a local printer.

- Click on
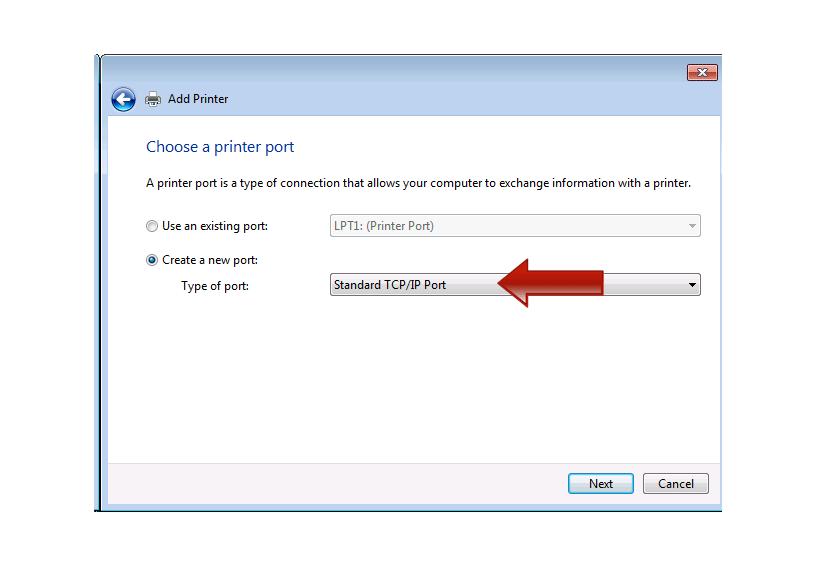
Create a new port. SelectStandard TCP/IP Portfrom the list of available ports. Then clickNext.
- Enter the IP address of the printer. To determine the IP address, go to the physical printer. Look for a piece of tape on the printer. That piece of tape should have a number on it in the form
999.999. Remember that number. At your computer, enter134.121. followed by the number on the printer. All IP addresses at WSU Pullman begin with 134.121. The remaining octets identify your printer. ClickNext.

- Windows talks to the printer at that IP address. If your computer is networking correctly, Windows will determine the make and model of your printer. Click
Next.
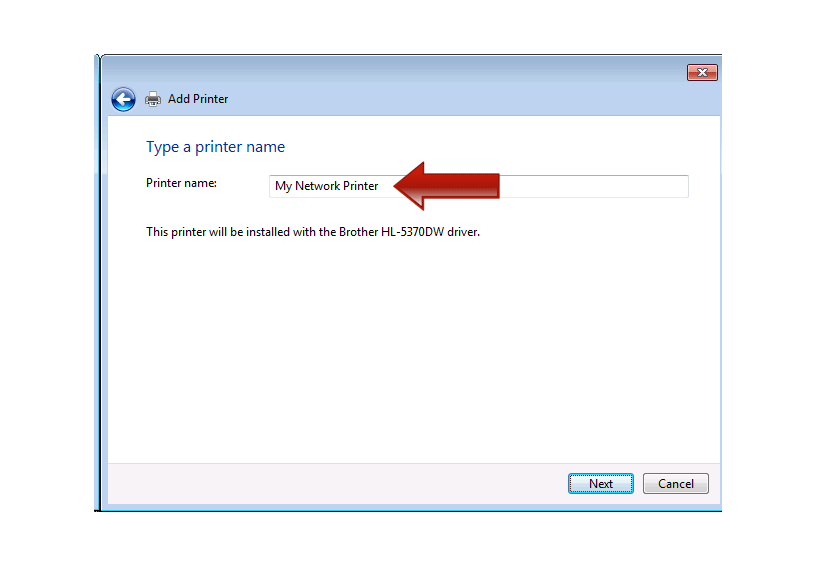
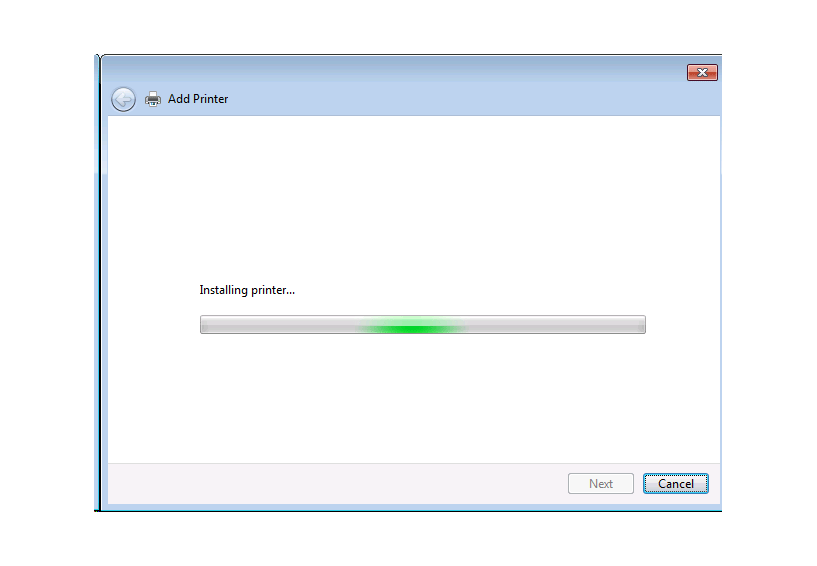
- Windows will create the connection to your printer. Windows may have to fetch the printer driver from Windows Update which can take more than five minutes.
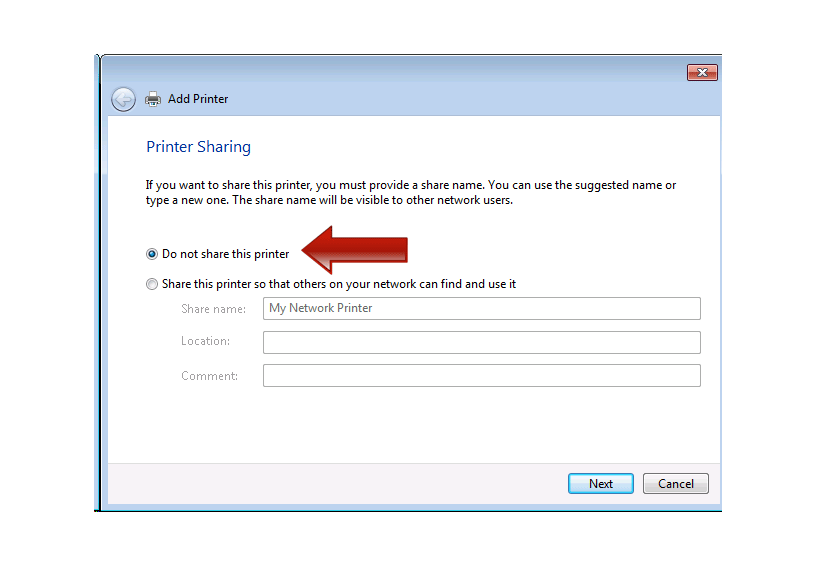
- The printer has been created. Windows prompts you to share the printer. The policy in Fulmer is to not share the printer. Select
Do not share this printer. ClickNext.
- Windows confirms that the printer has been added. Set it as default if you wish. Click
Finish. .
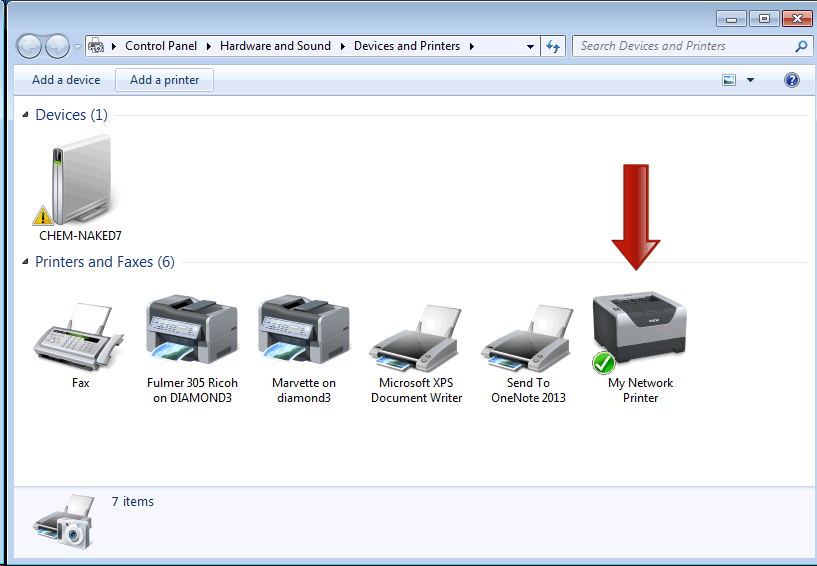
. - You can see your new printer in the dialog box.
