How to install Adobe Acrobat Pro (Creative Suite) on Mac
DISCLAIMER:
YOU MUST UNINSTALL YOUR CURRENT ADOBE ACROBAT AND ADOBE CLOUD APPLICATIONS FOR THIS TO INSTALL PROPERLY. Click here for directions.
You will need around 6 gigabytes of storage available prior to downloading the Adobe Shared file.
It is best if no other applications are open during the installation process such as ANY Adobe applications and/or Office applications.
This is a lengthy process for install, approximately twenty minutes to an hour depending on your computer hardware.
This is how you will find chem-jukebox, our replacement to chem-diamond3.
All pictures are clickable with larger linked versions if you’re on a small screen device.
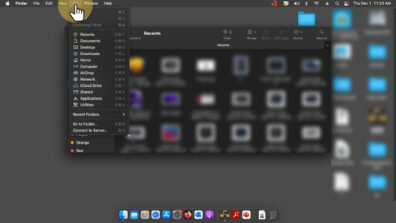
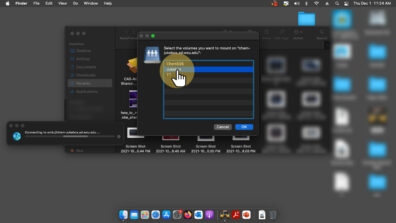
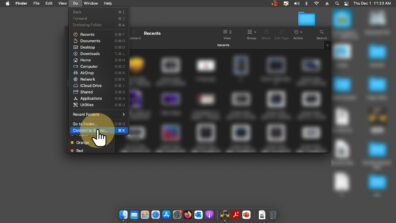
3. Go to the bottom of the tab and click “Connect to Server…”
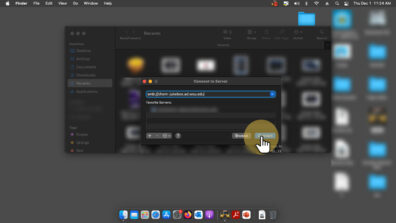
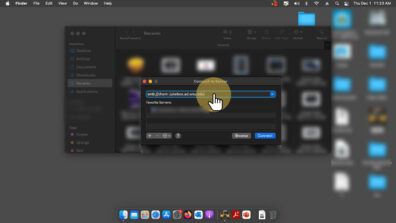
4. In the address bar type “smb://chem-jukebox.ad.wsu.edu”
6. If you are not on a WSU system you will be prompted to provide your credentials. Ex. “ad\firstname.lastname” and input your WSU password.
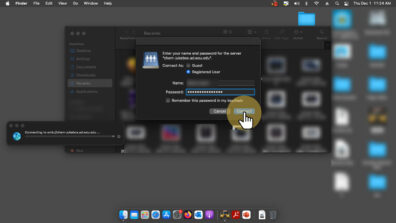
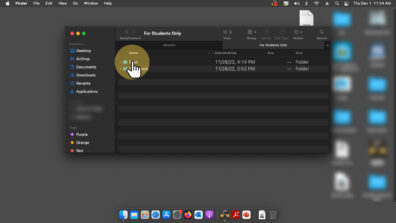
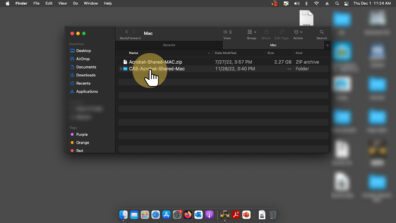
9. Open the appropriate folder if you’re either a student or faculty. The next steps are the same for either version.

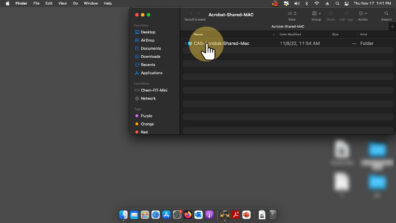
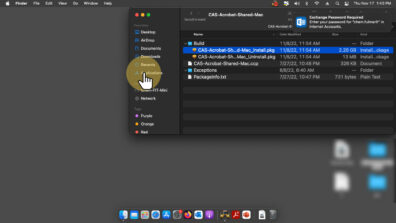
11. Grab the “CAS-Acrobat-Shared-Mac” folder and copy it to your desktop. This copying might take some time.
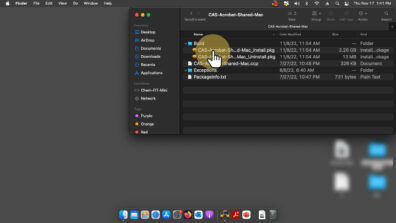
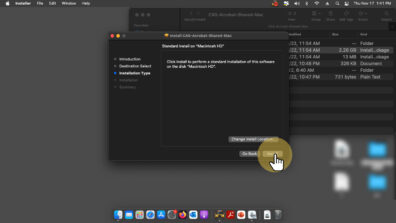
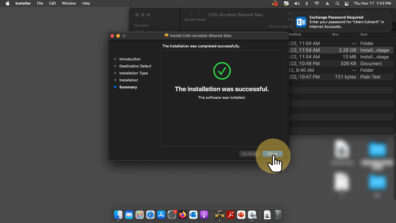
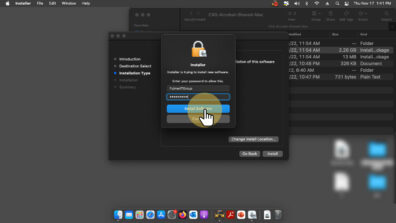
17. Input your password for your computer if you are prompted to, in order to continue the installation process.
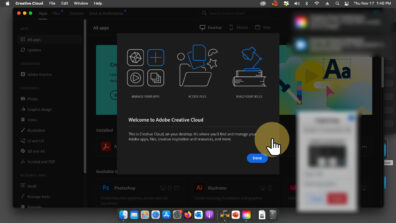
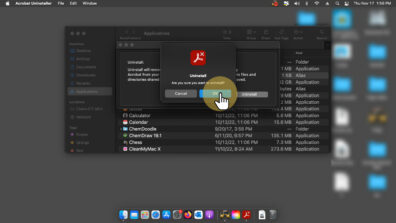
How to uninstall Adobe Acrobat and Adobe Creative Cloud.
DISCLAIMER:
Make sure to save your work and it is best if no other applications are open during the uninstalling process such as any Adobe applications and/or Office applications.
After the uninstall is complete you must restart your system.
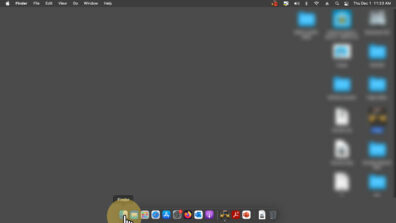
1. First find your Finder icon on your taskbar and double click it.
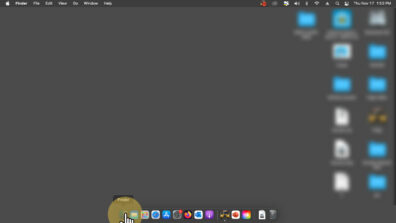
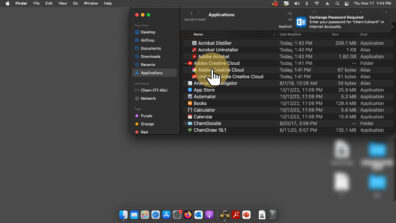
2. On your left hand side of Finder click Applications.

3. Find Adobe Creative Cloud and double click the uninstaller to begin the uninstalling process.
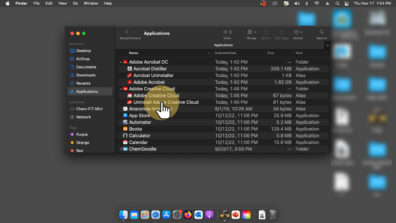
4. Go ahead and click uninstall.

5. Once the Creative Cloud is uninstalled click close.
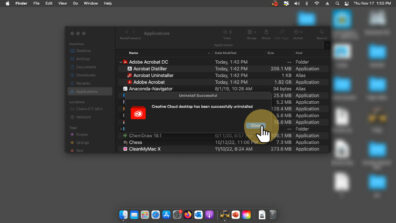
6. Navigate to the Acrobat uninstaller and double click.

7. Double click the Adobe Acrobat application.

8. Go ahead and click open, this will start the uninstalling process.
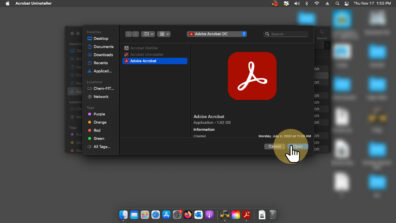
9. Confirm that you want to uninstall Adobe Acrobat.
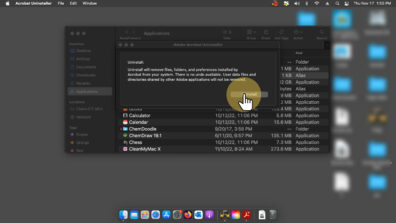
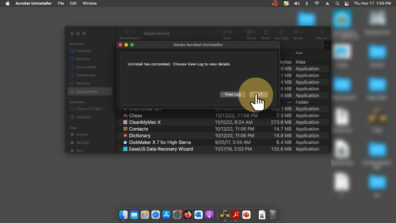
11. Once it is done uninstalling you can click quit and proceed to installing Adobe Shared.
