
Installing Microsoft Office 365
Step 1: Go to http://office365.wsu.edu.

Step 2: The login screen will pop up and sign in by using your Network ID and corresponding password.

Step 3: Once you are logged in it will take you to the Office 365 homepage, here there will be an Install now button, hit the button to continue to the download.


Step 4: Once the file is downloaded, locate the downloaded file in your Downloads folder and open it.

Step 5: A security warning will show up. Click Yes in order to install the program.

Step 6: A screen similar to the one below should show up. Wait for the installation to completely finish.

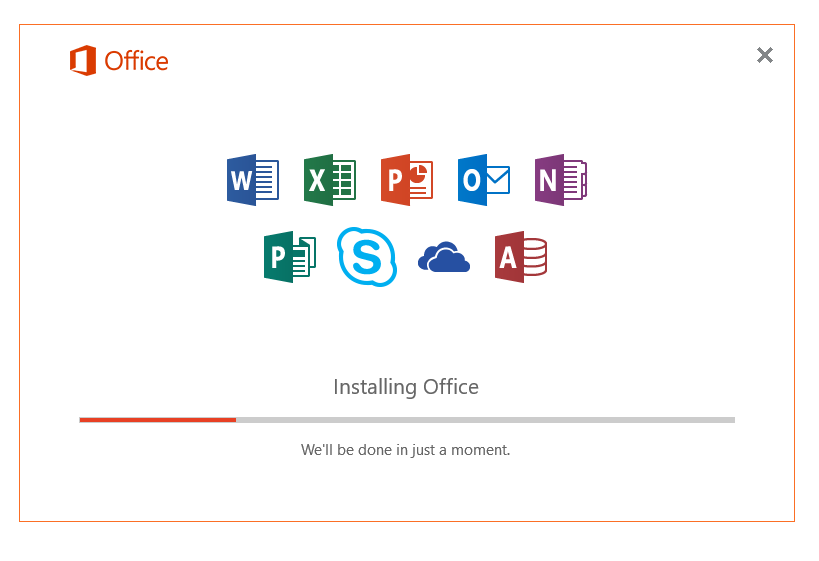
After this screen finishes loading, there may be a window that pops up in the lower right had corner of the screen. It will tell you that Office is installing in the background. Be patient, as this may take awhile.
Step 7: Once the installation is completed, the following screen will show up, to continue hit Next.

Step 8: Once done, a the window will tell you that Office has successfully installed.

You can check that office has successfully installed by checking the Start menu in the lower left hand corner of your screen.

Now you have access to Microsoft Office!